
Mechanical finishing & post-processing · finish comparison
Bead Blasting vs Support Removal
Bead Blasting (mechanical finishing) and Support Removal (3d-print & moulding post-processing) solve the same problem by different routes; bead blast resists corrosion better.
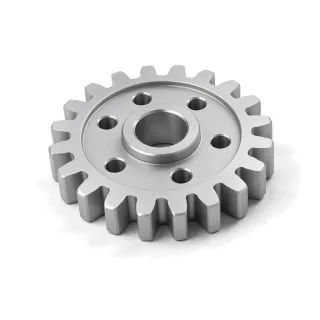
Bead Blasting
Mechanical finishing · $ · instant quote
Bead blasting propels spherical media at a surface to make a uniform satin or matte finish.
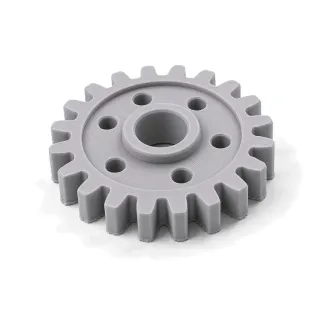
Support Removal
3D-print & moulding post-processing · $$ · instant quote
Support removal separates sacrificial print structures and cleans their attachment scars.
When to choose which
Choose Bead blast
Choose Bead blast when support scars require all-over visual homogenization.
- Hides light tool marks on aluminum
- Produces a repeatable satin appearance
- Removes essentially no bulk material in a controlled cosmetic pass
Choose Support removal
Support removal is the pick when its strengths below matter more than Bead blast's.
- Makes supported geometry usable
- Removes sharp support stubs
- Exposes channels and interfaces
What the numbers say
- Bead blast resists corrosion better.
- Bead blast is the lower-cost option ($).
Scores side by side
Each score is 0–100 against every finish in this catalog. Corrosion is derived from salt-spray test duration and surface hardness from the finish layer's Vickers hardness where a measured figure exists; a finish that leaves the base metal's own surface is not rated for hardness. Cosmetic, lubricity and cost are FabDigit's engineering assessment. Scores and typical figures are screening data, not matched side-by-side tests or service-life rankings; ASTM B117 is a controlled salt-fog method, not a field-life prediction.
| Score | Bead blast | Support removal |
|---|---|---|
| Corrosion resistance | 5 Minimal | 0 Minimal |
| Surface hardness / wear | — — | — — |
| Cosmetic quality | 65 Good | 15 Low |
| Lubricity | 10 Minimal | 5 Minimal |
| Cost | 15 $ | 20 $$ |
Key numbers
| Property | Bead blast | Support removal |
|---|---|---|
| Thickness | 0 µm | 0 µm |
| Electrical | Unchanged | Unchanged |
| Relative cost | Budget ($) | Standard ($$) |
| Added lead time | 1–3 working days | 1–5 working days |
| RoHS | Compliant | Compliant |
| Instant quote | Yes | Yes |
Bold marks the side that is ahead on a row where more (or less, for cost and lead time) is better. Ranges are the typical specification window; the drawing call-out fixes the class.
Which materials take each finish
| Material family | Bead blast | Support removal |
|---|---|---|
| Aluminum | Yes | Yes |
| Brass | Yes | Limited |
| Copper Alloy | Yes | With care |
| DMLS / SLM | Yes | Yes |
| FDM | With care | Yes |
| MJF | Yes | Limited |
| PolyJet | — | Yes |
| Polymer | With care | Yes |
| SLA | With care | Yes |
| SLS | Yes | Limited |
| Stainless Steel | Yes | Yes |
| Steel | With care | Yes |
| Titanium | Yes | Yes |
| Magnesium Alloy | With care | Limited |
| Zinc Alloy | With care | No |
Bead blast vs Support removal — frequently asked
What is the difference between Bead blast and Support removal?
Bead Blasting (mechanical finishing) and Support Removal (3d-print & moulding post-processing) solve the same problem by different routes; bead blast resists corrosion better. Bead blast is the lower-cost option ($).
When should I use Bead blast instead of Support removal?
Choose Bead blast when support scars require all-over visual homogenization.
Is Bead blast or Support removal cheaper?
Bead blast is the lower-cost finish ($ against $$ for Support removal) among the finishes FabDigit quotes. Both are priced per part with a lot minimum; the exact figure appears on the instant quote once the part is uploaded.